Table of Contents
- Why So Delicate? Understanding Your Baby’s Ear Anatomy
- The Truth About Baby Earwax (Cerumen): Nature’s Tiny Protector
- The Big DON’Ts: What NOT to Do When Cleaning Baby Ears
- The Gentle DOs: Safe and Effective Newborn Ear Cleaning Techniques
- Bath Time Tips for Happy Ears
- When Should You Worry? Signs of Potential Ear Problems
- Dealing with Dry Skin Around the Ears
- Your Pediatrician: Your Partner in Care
- Conclusion: Keep it Simple, Keep it Gentle
Whispers of Worry: A New Parent’s Guide to Newborn Ear Care & Gentle Cleaning Tips
Bringing a newborn home is a whirlwind of emotions – overwhelming love, profound joy, and yes, a healthy dose of anxiety. Every tiny toe, every soft curl, every little sigh feels precious and fragile. Among the many questions swirling in a new parent’s mind, one often pops up: “How do I clean my baby’s tiny ears?” Those delicate little shells seem so vulnerable, and the fear of doing something wrong is completely understandable. You’ve probably heard conflicting advice, seen countless products (most of which you absolutely *don’t* need!), and maybe even felt a pang of panic during bath time.
Take a deep breath. When it comes to newborn ear care, the golden rule is remarkably simple: less is almost always more. Your baby’s ears are incredibly sophisticated and largely self-cleaning. Our job as parents isn’t to meticulously excavate them, but rather to gently maintain the outer area and know the signs that might warrant a check-up. This guide is here to ease your worries, debunk common myths, and provide clear, actionable, and most importantly, gentle cleaning tips for your baby’s ears.

Why So Delicate? Understanding Your Baby’s Ear Anatomy
Before we dive into the how-tos, let’s briefly touch upon *why* gentleness is paramount. A newborn’s ear canal is much smaller and shorter than an adult’s. The eardrum (tympanic membrane) is closer to the surface, making it more susceptible to injury from probing objects. The skin inside the ear canal is also incredibly thin and sensitive.
Here’s a simplified breakdown:
- Outer Ear (Pinna/Auricle): This is the visible part of the ear, made of cartilage and skin. This is the *only* part you’ll typically need to clean.
- Ear Canal (External Auditory Canal): This is the tube leading from the outer ear to the eardrum. It’s lined with skin, hair follicles, and glands that produce earwax.
- Eardrum (Tympanic Membrane): A thin membrane that vibrates when sound waves hit it, transmitting sound to the middle ear. It’s delicate and easily damaged.
- Middle Ear & Inner Ear: These intricate structures are responsible for hearing and balance and are located deeper inside, well beyond where any cleaning should ever occur.
Interfering with the ear canal can disrupt its natural processes, push wax deeper, irritate the sensitive skin, or even cause serious damage to the eardrum. That’s why a hands-off approach to the *inside* of the ear is crucial for infant ear hygiene.
The Truth About Baby Earwax (Cerumen): Nature’s Tiny Protector
Earwax, medically known as cerumen, often gets a bad rap. We tend to view it as dirty or something that needs to be removed. However, in reality, earwax is a natural, protective substance with several important jobs:
- Trapping Debris: It catches dust, dirt, dead skin cells, and other small particles, preventing them from reaching the delicate eardrum.
- Moisturizing: It lubricates the ear canal, preventing the skin from becoming dry, itchy, or flaky.
- Antibacterial & Antifungal Properties: Earwax contains substances that help inhibit the growth of bacteria and fungi, reducing the risk of ear infections.
- Water Repellent: It provides a slight barrier against water entering the ear canal.
Think of earwax as your baby’s ear canal’s self-cleaning mechanism. Specialized cells in the ear canal slowly migrate outwards, carrying the wax and any trapped debris along with them. Jaw movements, like sucking and chewing, also help this natural migration process. Eventually, the old wax reaches the outer ear, dries up, and falls out on its own or is easily wiped away.
The amount and type of earwax (wet or dry, yellow or brown) vary significantly between individuals due to genetics. What looks like a lot of wax in your baby’s ear might be perfectly normal for them. As long as it isn’t causing problems (which we’ll discuss later), it’s best left alone to do its job. Obsessively trying to remove baby earwax can do more harm than good.

The Big DON’Ts: What NOT to Do When Cleaning Baby Ears
This is perhaps the most critical section. Avoiding harmful practices is key to safe newborn ear care. Please, never, ever do the following:
DON’T Use Cotton Swabs (Q-tips®) Inside the Ear Canal
This is the number one mistake parents make, often with the best intentions. Cotton swabs are simply not designed for cleaning *inside* the ear canal – not for babies, not even for adults! Here’s why they are dangerous:
- Pushing Wax Deeper: Instead of removing wax, swabs usually push it further into the ear canal, potentially creating a blockage (impaction) against the eardrum.
- Risk of Injury: A sudden movement from you or your baby could cause the swab to puncture the delicate eardrum, leading to pain, bleeding, infection, and even hearing loss.
- Irritation: Swabs can scratch and irritate the sensitive skin lining the ear canal, potentially leading to inflammation or infection (otitis externa, or swimmer’s ear).
- Removing Protective Wax: You’re removing the very substance designed to protect the ear.
The old adage holds true: “Don’t put anything smaller than your elbow in your ear!” While slightly exaggerated, the principle applies, especially to tiny baby ears.
DON’T Insert Fingers or Sharp Objects
It might seem tempting to use a fingernail or a twisted tissue corner to scoop out visible wax, but this is also risky. Fingernails can harbor bacteria and easily scratch the delicate skin. Any sharp or pointed object poses a significant risk of injury.
DON’T Use Ear Candles
Ear candling is an alternative practice claimed to draw out wax and impurities. There is absolutely **no scientific evidence** to support these claims. On the contrary, ear candling is dangerous and can cause serious burns to the face, outer ear, and ear canal, blockage from candle wax, and eardrum perforation. Reputable medical organizations strongly advise against it.
DON’T Squirt Liquids (Water, Peroxide, Oil) into the Ear Canal (Unless Advised by a Doctor)
While specific ear drops may be prescribed by a doctor for certain conditions (like impacted wax or infections), never introduce liquids into your baby’s ear canal without explicit medical guidance. Flushing the ear improperly can trap moisture, potentially leading to infection, or force wax deeper.
The Gentle DOs: Safe and Effective Newborn Ear Cleaning Techniques
So, if you’re not supposed to stick anything inside, how *do* you practice good infant ear hygiene? It’s beautifully simple:
DO: Focus on the Outer Ear Only
Your cleaning efforts should be limited entirely to the visible parts of your baby’s ear – the outer ear (pinna) and the area behind the ear. Think of it as external skincare rather than internal cleaning.
DO: Use a Soft, Damp Washcloth
This is your primary tool! During bath time or as part of your baby’s daily hygiene routine:
- Take a soft baby washcloth and dampen it with warm (not hot) water.
- Wring it out thoroughly so it’s just damp, not dripping.
- Gently wipe around the outside of the ear, cleaning the curves and folds of the pinna.
- Gently wipe behind the ears, as milk or spit-up can sometimes collect there, leading to irritation.
- Never insert the washcloth or your finger wrapped in the washcloth into the ear canal opening.
DO: Dry Thoroughly After Bathing
After wiping or bathing, use a soft, dry towel to gently pat the outer ears and the area behind them dry. Ensuring the area is dry helps prevent skin irritation and potential fungal growth in the creases.
DO: Let Nature Take Its Course with Earwax
Trust the process! Allow your baby’s natural ear-cleaning mechanism to work. Most earwax will migrate out on its own. You might occasionally see flakes or small clumps of wax at the very entrance of the ear canal – these can be gently wiped away with the damp washcloth if they are *fully* outside the canal. Don’t go digging for it.

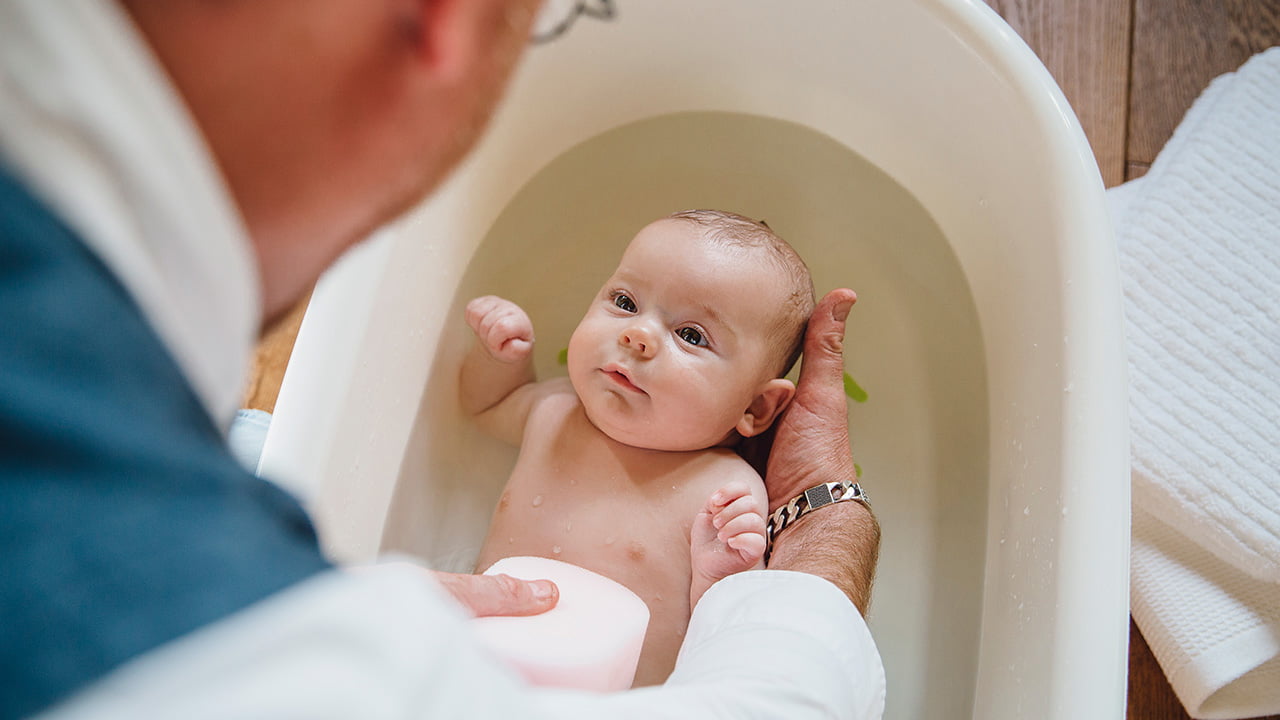
Bath Time Tips for Happy Ears
Bath time is often when parents worry most about water getting into their baby’s ears. While a little splash usually isn’t a problem (thanks, earwax!), preventing large amounts of water from entering the ear canal is sensible.
- Support the Head: Keep your baby’s head well-supported and slightly elevated above the water level.
- Gentle Washing: When washing hair, try to tilt your baby’s head back slightly so water runs away from the face and ears. You can shield the ears gently with your hand.
- Use a Cup: Instead of pouring water directly over the head from the tap, use a small cup for controlled rinsing.
- Avoid Submerging: Don’t fully submerge your baby’s head or ears under the water.
- Dry Well: Remember to gently dry the outer ears thoroughly after the bath.
If some water does get in, don’t panic. Usually, tilting the baby’s head gently to the side will help it drain out. The ear’s natural defenses typically handle small amounts of water without issue.
When Should You Worry? Signs of Potential Ear Problems
While routine cleaning is minimal, it’s essential to be aware of signs that might indicate an ear problem requiring medical attention. Never try to diagnose or treat ear issues yourself – always consult your pediatrician or healthcare provider.
Signs of a Possible Ear Infection (Otitis Media)
Middle ear infections are common in babies and young children, often following a cold or upper respiratory infection. Look out for:
- Increased Fussiness or Irritability: Especially when lying down, as this can increase pressure in the ear.
- Tugging or Pulling at the Ear(s): Though babies also do this when teething or exploring, persistent tugging combined with other symptoms warrants a check.
- Difficulty Sleeping: Pain may worsen when lying flat.
- Fever: Often present, but not always.
- Fluid Draining from the Ear: Yellow, white, or bloody discharge needs prompt medical evaluation.
- Decreased Appetite: Sucking and swallowing can cause painful pressure changes in the middle ear.
- Unresponsiveness to Soft Sounds: Fluid in the middle ear can temporarily affect hearing.
- Loss of Balance: Less common in infants, but possible.
Important: If you suspect an ear infection, see your doctor. They can diagnose it properly using an otoscope and prescribe appropriate treatment, usually antibiotics if it’s bacterial.
Signs of Excessive or Impacted Earwax
In rare cases, earwax can build up and cause a blockage. This is less common in infants than in older children or adults. Signs might include:
- Visible plug of wax blocking the canal (seen easily from the outside).
- Apparent difficulty hearing (e.g., not startling at loud noises they previously reacted to).
- Complaints of ear fullness or ringing (in older children who can verbalize).
Never try to remove impacted wax yourself. Your pediatrician can examine the ear and, if necessary, remove the wax safely using specialized tools or recommend safe softening drops.
Signs of Swimmer’s Ear (Otitis Externa)
This is an infection of the outer ear canal skin, often caused by trapped moisture allowing bacteria or fungi to grow. While less common in newborns unless there’s excessive moisture or irritation, signs include:
- Redness or swelling of the outer ear or ear canal opening.
- Itching in the ear.
- Pain, especially when the outer ear is touched or pulled.
- Discharge from the ear.
Again, consult your doctor for diagnosis and treatment, which usually involves antibiotic or antifungal ear drops.
Foreign Objects
While more common in toddlers, it’s worth mentioning. If you suspect your baby has somehow gotten a small object (bead, food particle) lodged in their ear, seek immediate medical attention. Do not try to remove it yourself, as you risk pushing it further in or damaging the ear.

Dealing with Dry Skin Around the Ears
Sometimes, the skin on the outer ear or behind the ear can become dry or flaky, especially in newborns adjusting to the outside world or those with conditions like cradle cap or eczema.
- Gentle Cleansing: Continue cleaning gently with a damp cloth as described earlier. Avoid harsh soaps.
- Pat Dry: Always pat the area completely dry after washing.
- Moisturize Carefully: If the skin is dry, you can apply a small amount of a baby-safe, fragrance-free emollient or moisturizer to the *outer* ear skin and behind the ears. Avoid getting lotion inside the ear canal. Consult your pediatrician if the dryness is severe, cracked, red, or weeping.
Your Pediatrician: Your Partner in Care
Your pediatrician is your best resource for any concerns about your baby’s health, including their ears. They routinely check your baby’s ears at well-child visits using an otoscope. This allows them to visualize the eardrum and ear canal, assess wax buildup, and check for signs of infection or other issues.
Don’t hesitate to ask questions during these visits:
- “Does my baby’s earwax level look normal?”
- “Can you show me exactly how you recommend cleaning the outer ear?”
- “What signs of ear trouble should I be most vigilant about?”
Building a trusting relationship with your pediatrician ensures you have reliable guidance tailored to your specific child. They can provide reassurance when things are normal and prompt, appropriate care when they’re not.
Conclusion: Keep it Simple, Keep it Gentle
Caring for your newborn’s ears doesn’t need to be a source of stress. By remembering a few key principles, you can ensure their ears stay healthy and safe.
Key Takeaways for Newborn Ear Care:
- Less is More: The ear canal is self-cleaning; avoid interfering.
- Outer Ear Only: Clean only the visible parts of the ear using a damp washcloth.
- No Cotton Swabs Inside: Never insert cotton swabs or any other objects into the ear canal.
- Earwax is Protective: Understand that normal amounts of earwax are beneficial.
- Dry Thoroughly: Gently dry the outer ears after bathing.
- Know the Warning Signs: Be aware of symptoms of infection or other problems (fussiness, fever, tugging, discharge).
- Consult Your Pediatrician: Always seek professional medical advice for any concerns or suspected ear problems.
Embrace the simplicity of gentle, external wiping. Trust your baby’s amazing natural processes and your pediatrician’s expertise. By avoiding unnecessary poking and prodding, you’re providing the best possible care for those precious little ears, allowing your baby to focus on hearing all the wonderful sounds of their new world – especially the comforting sound of your voice.
